Tuesday, July 24, 2012

Simple Fondant Toppers


I have shared some delicious semi homemade cupcake recipes with you, now I'm going to share a simple way to dress them up. Making your own fondant toppers can be a great way to add a little pizazz to your cupcakes for very little cost.

I like to make a simple marshmallow fondant. 4 cups mini marshmallows, 2 tablespoons of water, microwave 1 minute and mix in 4 cups of powdered sugar. Now before you get too excited, it is very messy and takes some effort to work the powdered sugar in but well worth it!  


Let me share some lessons I have learned the hard way.  :)
1. Divide your fondant into small sections before rolling it out. {I thought I would just roll it out like a pie crust. That does not go well!}
2. Use a thickness guide on your rolling pin. This will keep your toppers consistent and give you a more professional look.
3. Wear gloves when you color your fondant!  

Once you have your fondant colored you are ready to create your toppers. First, cut out your base circle. To add an extra detail you can poke holes with a toothpick to make a decorative edge. Next, use mini cookie cutters, letters or shapes to cut out a design. Finally, brush a little water on the back to attach your shapes to your toppers.


Using simple shapes and multiple colors can add a lot of detail and personalization to your dessert table without breaking the bank and they are guaranteed to put a smile on the guest of honor's face.


{He loved his Super Samurai Power Ranger Face Mask!}

Have fun creating!


Friday, July 20, 2012

Add Flair To Your Tablescape


Using chargers are a great way to add a little flair to your tablescape. They can help create the mood for your party and add that extra little detail to WOW your guests.

There are several different options when it comes to chargers:

You can buy them. I wanted a more formal look for this party so I opted to buy a decorative plate that accented my patterned plates. It gave the table a very modern and sophisticated look.


You can repurpose an old charger. I had an abundance of inexpensive gold colored plastic chargers from a Christmas party. I spray painted them yellow and used my cirlce dabber to add polka dots. They added the perfect touch to my summer table.


You can make them. I wanted to add a bit of fun and whimsy to my shabby chic baby shower. It was a chic theme so I chose to create my chargers with feathers. I used a round palcemat and hot glued feathers. Super simple but such a great addition to my rustic tablescape.


There you go. Three fun ways to add a little flair to your tablescape. Have fun and be creative!


Tuesday, July 17, 2012

Semi Homemade Chocolate Filled Cupcakes with Chocolate Sour Cream Frosting


Last week I shared my two favorite semi homemade lemon cupcakes. This week I am sharing my favorite semi homemade chocolate cupcake recipes inspired by a recipe I found in mixingbowl.com. They are sure to be more crowd pleasers!

Chocolate Vanilla Filled Cupcakes with

Chocolate Sour Cream Frosting


What you need: a box of milk chocolate cake mix, unsweetened baking cocoa, vanilla, large box of vanilla instant pudding, vanilla bean paste, 8oz heavy whipping cream, 8oz sour cream, small bag of chocolate chips {2 cups}, stick of butter, 4 cups powdered sugar


Mix your cake mix according to the directions on the box. Add 2T unsweetened cocoa and 1t vanilla. Bake according to the box. Remember the key to a tasty cupcake is that it is not over baked. So I like to check mine at 16 minutes.

While your cupcakes are baking it's time to make the pudding. You will substitute one cup of milk for one cup of heavy whipping cream and add 1T vanilla bean paste. {I highly recommend the vanilla bean paste, but if you don't have a baking supply near by you can substitute vanilla} After the pudding is set, scoop it into a Ziploc bag.

Once your cupcakes are cooled, you will need to make a hole in the middle and fill it with the pudding. If you want to make them look a little fancier, cut them in thirds, swirl a layer of pudding on each layer then place the top back on.


Last but not least, the FROSTING!!! Like I've said, this is my favorite frosting. :)
Melt the butter and chocolate chips in a sauce pan and let cool for 5 minutes. Then, stir in the sour cream. Poor into a mixing bowl and slowly mix in the powdered sugar. Spoon into a Ziploc bag, cut off the corner and swirl on to your cupcakes. This is a great frosting for parties because it doesn't melt! Pop them in the fridge for 20 mins before your party then you can set them out on your dessert table and they will stay beautiful!!


Chocolate Raspberry Filled Cupcakes with

Chocolate Sour Cream Frosting


Want a quick and easy alternative to the vanilla pudding? Use Raspberry Jam!
Follow all the same steps just substitute the pudding for seedless raspberry jam. Who doesn't love chocolate and raspberry?

That's it! Two more DELICIOUS semi homemade cupcakes that your guests will love!


Friday, July 13, 2012

Boy Bash on a Budget Jungle Dessert Table


I was so excited to be able to participate in Space Ships and Laser Beams' Boy Bash on a Budget Challenge. My challenge was to create a budget friendly Welcome to the Jungle dessert table using their ADORABLE Lion Printables.

I love any chance I can get to show that it is possible to throw a great party on a minimal budget. The key is DIY projects, semi homemade treats and a little creative thinking. :)

As soon as I saw the lion printables I fell in love with the adorable little lion and the fabulous bright colors! I knew that I wanted to create a table with natural elements and pops of colors. Burlap was a natural choice for the table cloth then I used the party circles to make a garland for the front of the table. I love the color that they added to the table.


I made a DIY frame with the same colors and patterns from the printables to showcase the welcome sign. It looks so great on the table!


To keep the color going I spelled out the word ROAR with paper mache letters and covered them with bright colored craft paper. I LOVE to add words to my tables so to save money I don't permanently cover them, I use double stick tape to attach the paper. Then I sand the edges to give them a finished look. This way I can easily reuse the letters!


Another one of my favorite things to do is to create one high impact item for my backdrop. For this party I used 4 grass skirt from the Dollar Tree and hung them upside down. I used a piece of twine across the top so the ends would bend over and look like the grassy plains. Then for my high impact item I created a giraffe from a piece of packaging paper also from the Dollar Tree. I added the details with scraps of paper I had at home. That's it $5 for the whole backdrop. Isn't the giraffe fun?


For the food I packed a simple sack lunch with a PB&J sandwich and a little pack of carrots with ranch dressing. I served them in an orange paper bag and added a bright piece of paper with a leaf pattern cut out to match the printables. I also served mini water bottles with the adorable printable labels from the collection.


The desserts were simple and semi homemade. To carry out the jungle theme I made treats with an animal theme. Chocolate pudding layered with whip cream to resemble zebra stripes. Green licorice for vines. Cupcakes wrapped in the lion cupcake wrappers. Brownie bites with a chocolate roar. Safari chocolates that my AWESOME hubby made for me and little bags of animal crackers with printable tags.


That's the whole party. You don't have to spend a lot of money to create a fun table that the kids will love.


Tuesday, July 10, 2012

Semi Homemade Lemon Cupakes


My friends and family all know that I to LOVE to bake so I am often being asked to bring cupcakes to events. But as a busy mom of 4 boys I don't always have the time or energy to bake from scratch. Over the next few weeks I am going to share my favorite semi homemade dessert tips, for the DIY mom, that are sure to impress your guests. 


First up are my two favorite semi homemade lemon cupcakes that I PROMISE you and your guests will love!

Lemon Meringue Cupcakes


For the cupcakes you will need I box of Vanilla cake mix, a jar of lemon curd and 1 whole lemon.


Mix the batter according to the box direction then add the zest of your lemon and stir it in. Now, take a little taste of the batter. {I told you it was good.} To keep my cupcakes fairly uniform I use a 1/3 cup measuring cup, that a fill a little less than full, to fill my cupcake liners. The key to delicious cupcakes is making sure you don't over bake them. There is nothing worse than a dry cupcake! I only bake one tray of cupcakes at a time and I bake them for about 16 minutes. I have a convection oven so it cooks a little faster, but I would recommend checking them at around 16 minutes. Then I let them cool in the pan for 10 minutes before I remove them.

Once they are completely cooled, you are ready for step 2. The filling. I have a handy little corer tool that I picked up at Target for a couple of bucks and I highly recommend that you get one because you are going to want to make these again. :) However, if you don't have the tool, you can just use a knife to cut a circle and pop out the middle.


Once you have made your hole in your cupcake, fill it with a little scoop of lemon curd. Now what I do next is eat the pile of cores I pulled out, but that step is optional.


The final step is the meringue. You will need 4 egg whites and 1 cup of sugar. Beat the egg whites until soft peaks form. Add the sugar a little at a time and beat until the sugar is dissolved. I like to add a little lemon zest for some extra lemony goodness. Spoon the meringue into a gallon size Ziploc bag, cut off the corner, pipe onto the cupcakes, place them on a cookie sheet and bake at 400 degrees for 5 minutes or until lightly browned.  

Not enough time to make these? I have an even easier recipe for delicious lemon cupcakes that happens to be my personal favorite. 


Lemon Cupcakes with White Chocolate Sour Cream Frosting


Follow the steps above but omit the lemon curd filling. Then, instead of the meringue topping I make a white chocolate sour cream frosting. IT IS TO DIE FOR!!!! It is hands down my favorite frosting EVER!!!

For the frosting you will need 1 stick of butter, 1 bag of white chocolate melting chips {2 cups}, 8 oz sour cream and 4 cups powdered sugar.


Melt the butter and the chocolate in a pan over low heat then let cool for 5 minutes and stir in the sour cream. {It is going to look separated and kind of like you did something wrong but don't panic.} Poor the mixture into a mixing bowl and gradually mix in the powdered sugar. Now take a taste. AMAZING right? Now spoon the frosting into a Ziploc bag, cut off the corner and pipe onto your cupcakes. The best thing about this frosting is that you can use the colored melting chocolates to create colored frosting.

There you have it two semi homemade lemon cupcake recipes that are sure to be party pleasers.

Friday, July 6, 2012

DIY Multi Colored Stenciled Picture Frame

Do you want to add a little fun to your picture frames? Here is an easy way to add multiple colors in two easy steps.


You will need a cheap frame, acrylic paint in the colors of your choice, foam brush, a stencil of your choice and a can of spray paint in you guessed it the color of your choice.


1. Divide your frame into sections {I divided mine into 8} and paint each section a different color.


2. Tape your stencil onto the frame {I made my own stencil to match my party printables} and spray paint over it. Once your paint is dry remove the stencil and you will have a fun multi colored, patterned frame.


I had a round sign I wanted to frame so I added a little jungle grass to the back of my sign and attached it to the OUTSIDE of the frame. But I am wild and crazy like that. :)

Doesn't it look great on my dessert table?


Thursday, May 3, 2012

Autism Awareness

My oldest son Aaron is a freshman in high school. He is incredibly smart, funny, loves to read, and he is autistic.

3 years ago, after years of fighting for Aaron's best interest, my husband and I decided we needed to move him to the school district where I teach. I love my colleagues and I knew in my heart that it was the best thing we could do for him.

What I didn't know was that Aaron believes it was the best thing we did for him. That is until a few days ago when we were talking and he shared with me that he likes school now. When I asked him why he told it was because of his 6th grade teachers. He told me that they helped him with his problems. They taught him to control his anger and how to be a part of a group. He was so happy that he had been able to participate in group activities for the first time. He also said that 6th grade was the first time he made a friend.

I was overwhelmed with emotion when he told how he felt. I was so happy for him that he finally felt like he belonged. But it also broke my heart all over again to think of how hard he worked and how long he struggled to get to this point.

Hearing him express his gratitude for his teachers made me so thankful that he was able to have these amazing women in his life. That's when I decided that I was going to do something a little different for Autism Awareness month. I wanted to make the teachers Aware of the difference they made in an Autistic child's life. I wanted them to know that their high expectations and the time they took to teach him how to interact appropriately in a classroom environment changed his life.

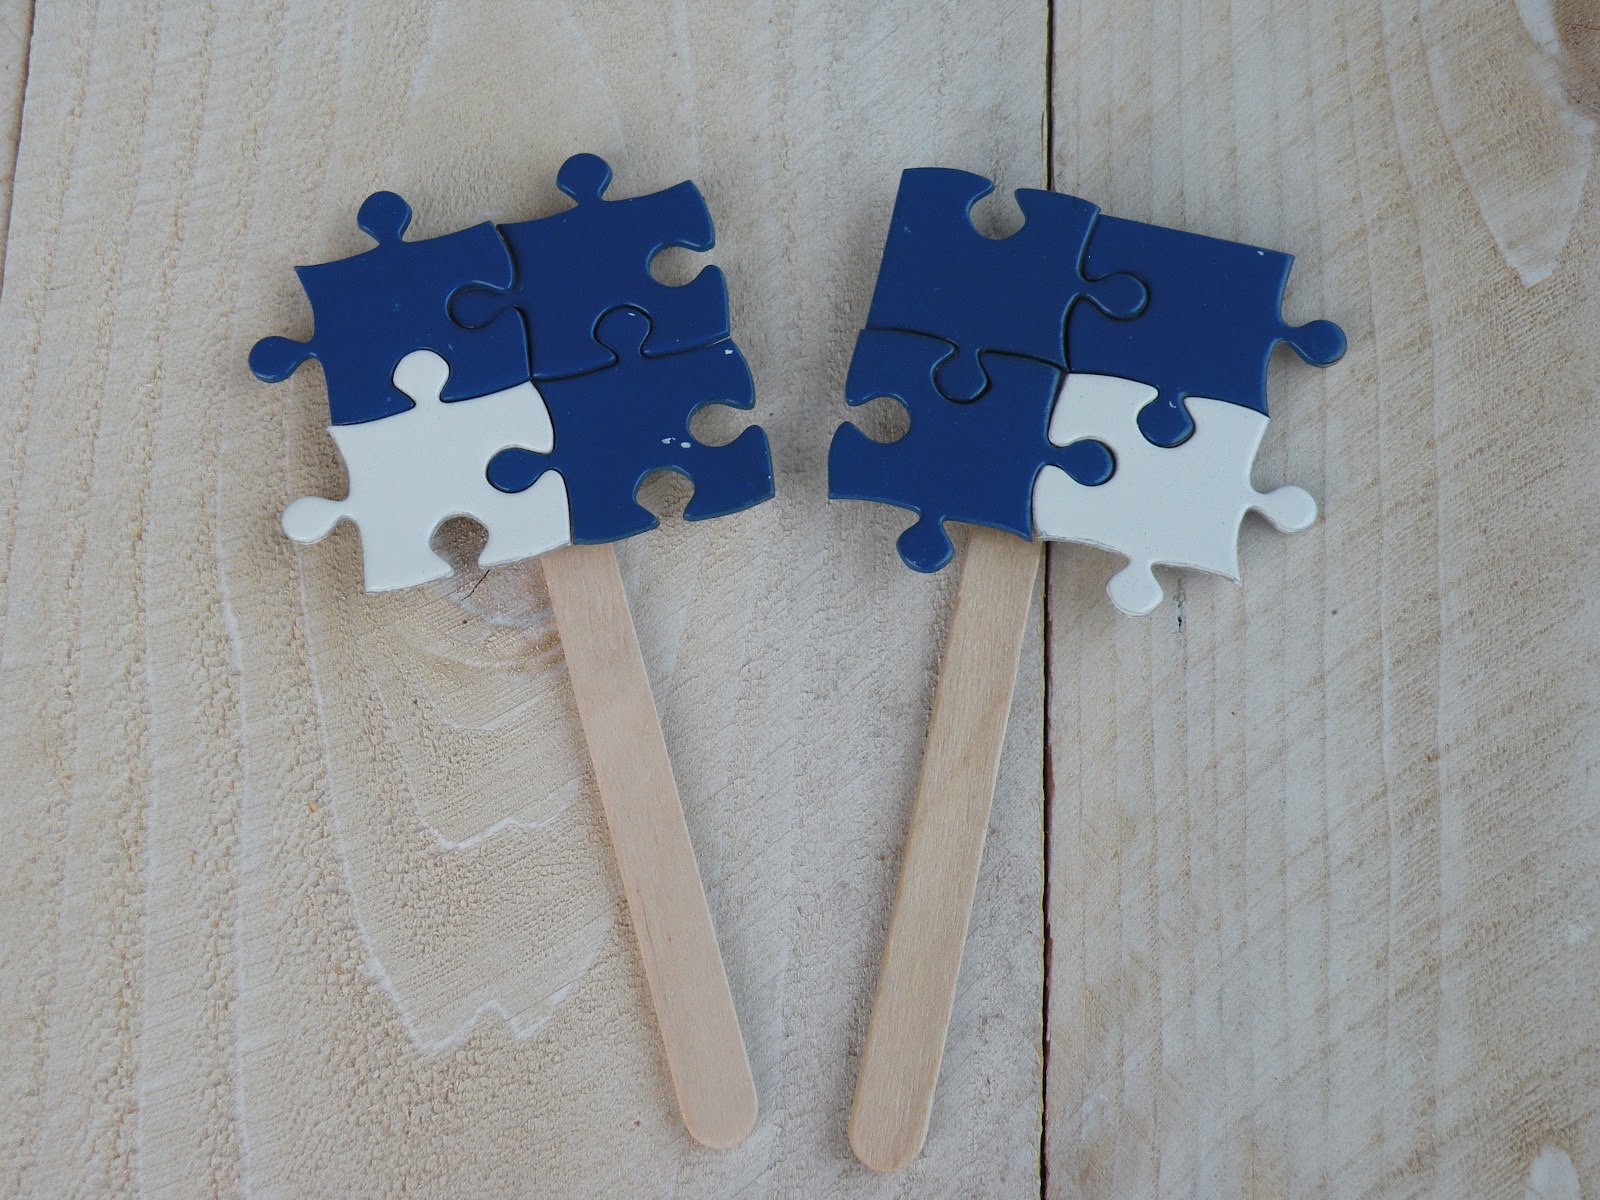
So I told my son that his 6th grade teachers would love to get a letter from him and hear how he is doing now. He was amazed that they would be interested in how he was doing but was excited to write to them. Now Aaron is a man of few words so I was shocked to see that he had written over a page long letter to each of them. Next, I baked some cupcakes and made puzzle piece toppers. {I also made a puzzle piece wreath for us to hang up at home}


Then, I wrapped up the cupcakes and put them with the letters from Aaron.


Finally, I wrote a letter to each of them sharing my appreciation for the difference they made in my son's life. They simply treated him like he belonged and in turn made him belong for the first time.

I am so thankful for all of the fabulous people who take the time to treat others with kindness and respect regardless of their disabilities. You are life changers!