Thursday, December 29, 2011

The "Pinterest"ing Things I Did In 2011

I thought it would be fun to take a look back at the ideas I pinned and see how many of them I actually used. I was surprised to realize that I actually  used more ideas than I thought I did. I posted the pictures of most of them and the link from Pinterest and in some cases a picture of how mine turned out.  :) 
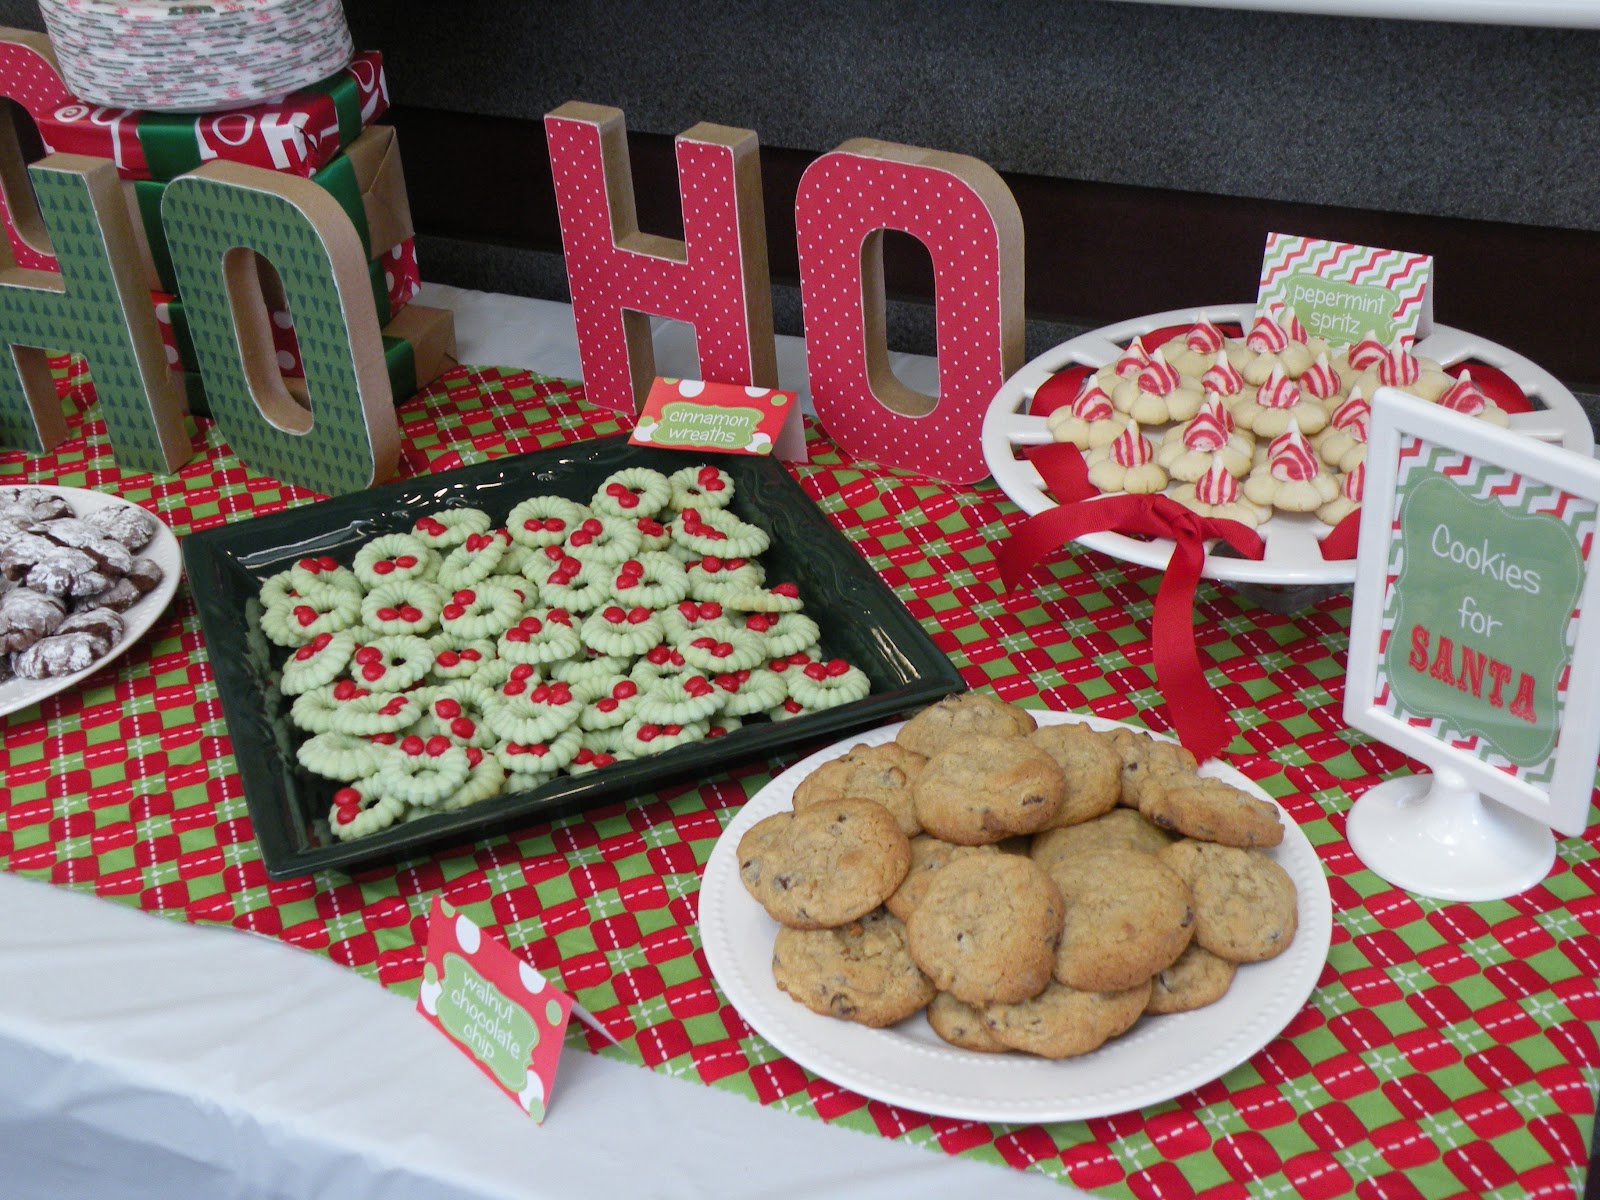
I made this for my family for our Christmas gathering. It was BIG HIT!!!
{I didn't take a picture of mine but I assure it looked just as beautiful! lol}

I totally forgot to take pictures of my gifts, but I used red and white polka dot paper for my bows and white gift bags with red and green tissue paper and red/green glitter monograms hanging from them. They were super cute and it made it really easy for handing out gifts!

I love this whole wall, but our boys have a space under their windows so that's where we are going to hang them. Yes, I said going to hang them it's still on the to do list. :)

This worked great!
{I didn't get a picture of mine.}

I LOVE how pretty these look and to think I had mine in a zip lock bag!
Can you imagine?!

{I got a little over excited and started putting everything in mason jars! lol}

I loved the idea of adding a little pizazz to a plain frame and...

I happened to have 4 of them sitting in my garage.
I love the way they turned out!

What a fun way to display your donuts.

They looked so pretty on my table!

This was such a great idea! This free download was super cute
but of course I couldn't find the link when I needed it so...


I had to recreate it from memory.
I already have the cute one downloaded for next year. :)

 
I LOVE this but I can't show you mine yet because I couldn't
 find enough berries to finish it! lol


This is so pretty!
I thought it would be perfect as a backdrop for...

a winter party.
{My photography isn't so great but it really was pretty in person.}

 I used this as an inspiration for...

these. :)  The original design is really pretty
but this matched something else I already had.

I thought this sounded like something different to try this year
for our staff Christmas party.

We made two bowls of the candy cane punch and it was a BIG HIT!!

 
ORDERED IT!! Can't wait to get it! :)

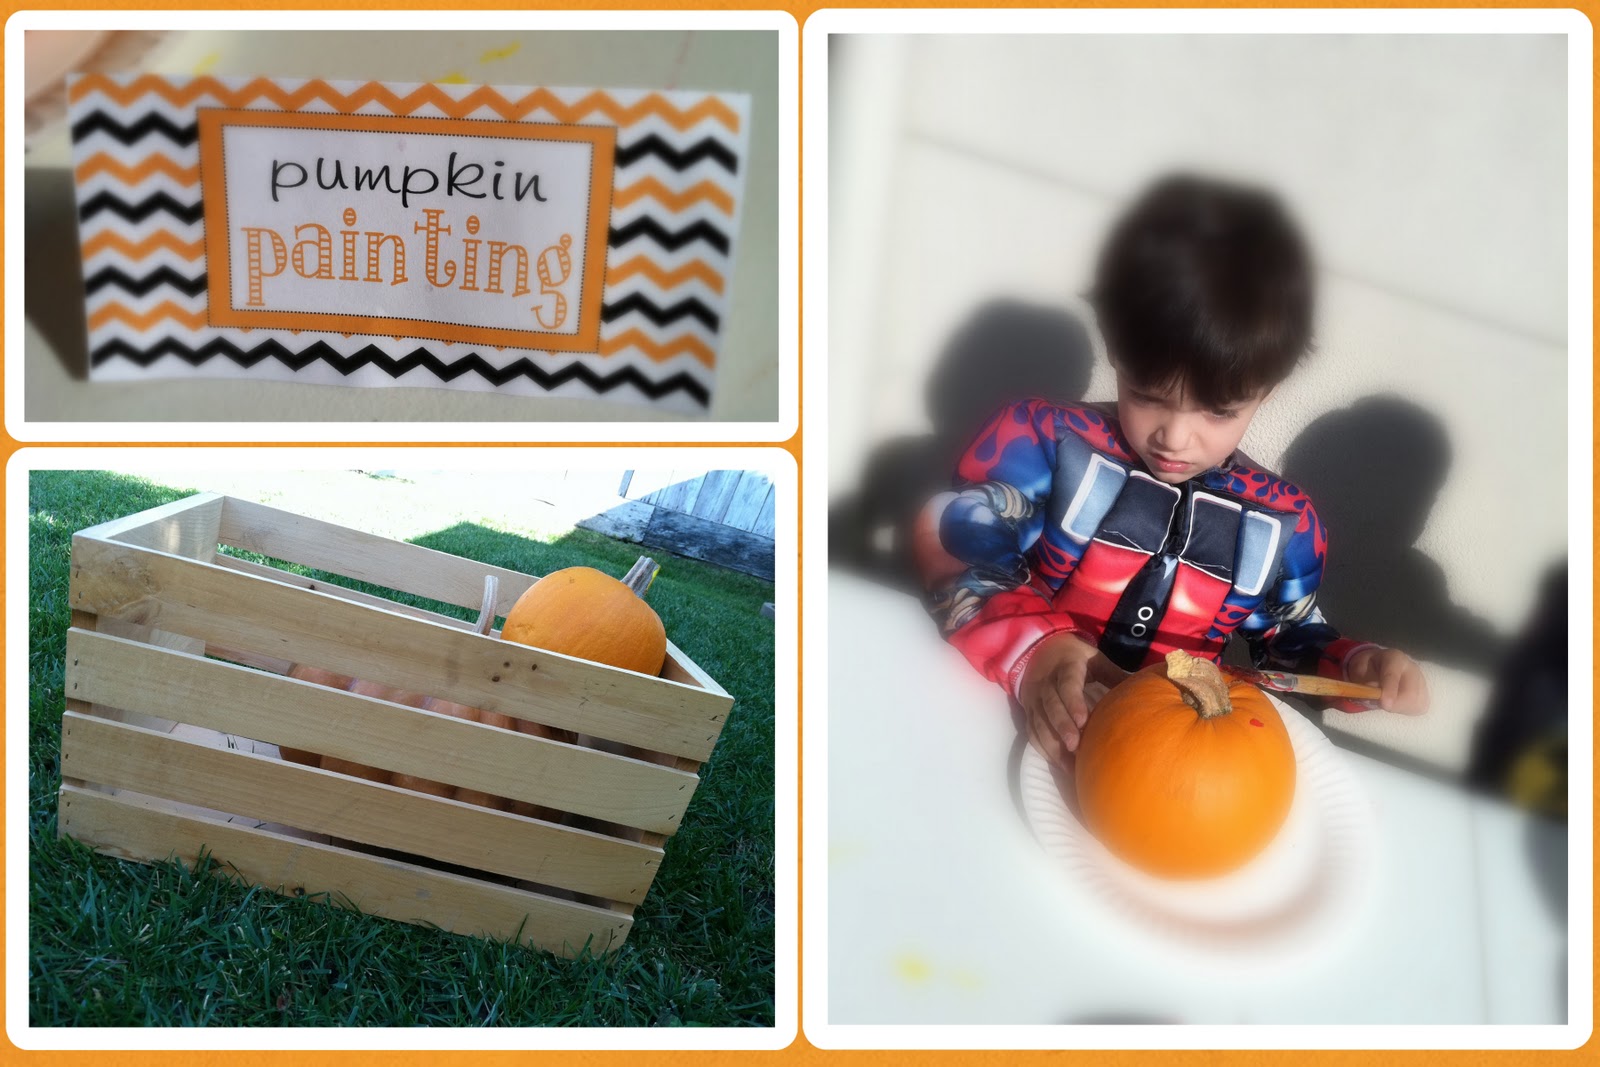
I made the snowman sandwich faces for my little boys.
They loved it!!

I loved the burlap wrapped around the table,
but I thought it would also look great as..


a backdrop!
I love the simple elegance of it.

I also got this idea to wrap mini loafs in coffee filters and tie with ribbon
but I couldn't find my pin to show you the original.
I thought these little cuties looked so adorable sitting on that trunk that..


I had pictures done by Simply Sweet Photography with my boys and a trunk!
{Clearly my youngest loved the idea too!!! lol}

I totally say this to my kids all the time now!!! lol

Finally, I had to add a link to my whole style board because I actually get up every morning and pull up my style board on my phone to look to see what I can I try to pull together!
{I know, I'm such a dork! lol}

I had so much fun getting inspiration from Pinterest in 2011. I can't wait to see what great ideas I will find in 2012!

Monday, December 26, 2011

Cookies For Santa

One of my committees at work is the Sunshine committee which is responsible for putting on the staff Christmas party. We like to try to do something a little different every year so this year we decided to do a Cookies for Santa theme. We went with a traditional red, green and white color pallet and all things Santa. Here is how it turned out....


The centerpieces were wrapped packages with elf hats and Santa hats on top.

Each place was set with a Santa favor box for taking home extra cookies and...

and a bottle of water.

We hung multi sized paper lanterns to add a little fun.

 The dessert table was filled with 24 dozen homemade cookies!


 I LOVE using paper mache letters to add a little character to a table!


The beverage station was stalked with extra water, peppermint punch
and of course milk.

 The signs we used.

 No party would be complete without a party game...

We had people share unusual things they have done for Christmas and we posted them around the room for everyone to try to figure out who did what. It was a lot of fun!

As a special thank you to our wonderful staff, we placed a custom stocking cookie in their favor box. They were a big hit!

It was such a fun afternoon filled with good food and good friends! It is such a blessing to love your job and the amazing people you work with!


Thursday, November 24, 2011

DIY Paper Lantern Snowman


My friend Michelle and I are in charge of the decorations for the Angel Tree Breakfast at our church.  We have limited funds and a snowman theme, so I put my thinking cap on and with Michelle's help fine tuning the idea, we came up with these ADORABLE guys! :)


1. MATERIALS - 3.5" paper lantern for the head, 8" paper lantern for the body, sock, fabric scrap, black pipe cleaner, green brad, newspaper and string.

2. Tie the two lanterns together and wrap a strip of newspaper around the neck.

3. Wrap a strip of fabric around the newspaper to create your scarf. Cross one end over the top of the other and hot glue in place. Cut fringe on the ends.

4. Cut the toe and the top off of the sock. Tie a piece of string just above the heal to create the top of your hat.

5. Stuff some newspaper in to the hat, roll the bottom of your sock hat and hot glue to the snowman's head. Take a little square of fabric and hot glue around the top of the hat and cut fringe.

6. Cut your black pipe cleaner into little pieces to create your mouth and eyes and hot glue into place. Finally hot glue on a green brad for your nose and you have your own ADORABLE little snowman center piece.

Think how cute they would be with a patterned sock or maybe some dangling pom poms from the sides for tying the hat on. An orange brad nose or even some stick arms would look great too. The possibilities are endless. Have fun and be creative!

We set ours in buckets filled with white paper shreds to keep them from rolling around. We also added a piece of glittering Christmas drape as a table runner on top of a light blue tablecloth and two little buckets filled with paper shreds and mini Styrofoam balls to complete the table. The whole table turned out SUPER CUTE! We were so proud of ourselves we were high fiving! lol


Sunday, October 30, 2011

Fabulous Fall Fun

I was in charge of putting together the crafts and games for the Fall Festival at our church today. Now as you probably know, there is no budget for church events, it's all about the donations. So I put my thinking cap on and pulled my resources to come up with some Fabulous Fall Fun!

I started by contacting my good friend with the pumpkin hook up. I got 24 small pumpkins donated {for some tasty treats in return}, displayed them in my wooden crates, used the the tempera paint from the preschool classroom, borrowed some paint brushes from school, made a cute label and craft number one was done.
PUMPKIN PAINTING


The beautiful finished product. The little ones just loved painting all over the pumpkins. I must caution you however, this is NOT a project for anyone who has diversion to paint mixing! The poor teenager in charge tried so hard to keep the brushes in the right colors, bless her heart!

For craft number 2 my friend and I raided closets and collected all the pants and shirts that our little ones had outgrown. Then she collected newspapers, I grabbed some brown lunch bags, cut out face pieces from felt scraps and made more cute labels. Finally I sorted everything out into tubs and buckets so we could form an assembly line.

Scarecrow Making


How funny are these? You know they make you smile! It was so much fun to watch the kids very carefully pick out the pieces of clothing that they wanted. They were so proud of their creations! My own wild things things came home and took naps with them. :)


Now for the games. I put together 10 games from the the game show Minute To Win It. The games are all based on household items so I collected what I needed, assembled a few items, then placed each game into a bucket with the directions, added more cute labels and ribbon, and the games were ready to go!

Game Time


The games were a big hit! The kids had a blast and of course they enjoyed the candy they received for participating. :)

It was a great day filled with fun and lots of memories! What more could you ask for?